FAQ — Editing TimeWalk in Unreal Engine
Imported from TimeWalkOrg/Manhattan wiki
TimeWalk depends on the contribution of historians, 3D artists, animators, and sound designers. It needs to be easy to edit, but editing Unreal Engine is still complex. If you spot an error, start by logging a GitHub Issue. For minor alterations, follow the steps below to edit a project copy in your own GitHub branch, then issue a “pull request” for the team to review and merge your changes into the main project. Github tutorial.
Map Alignment
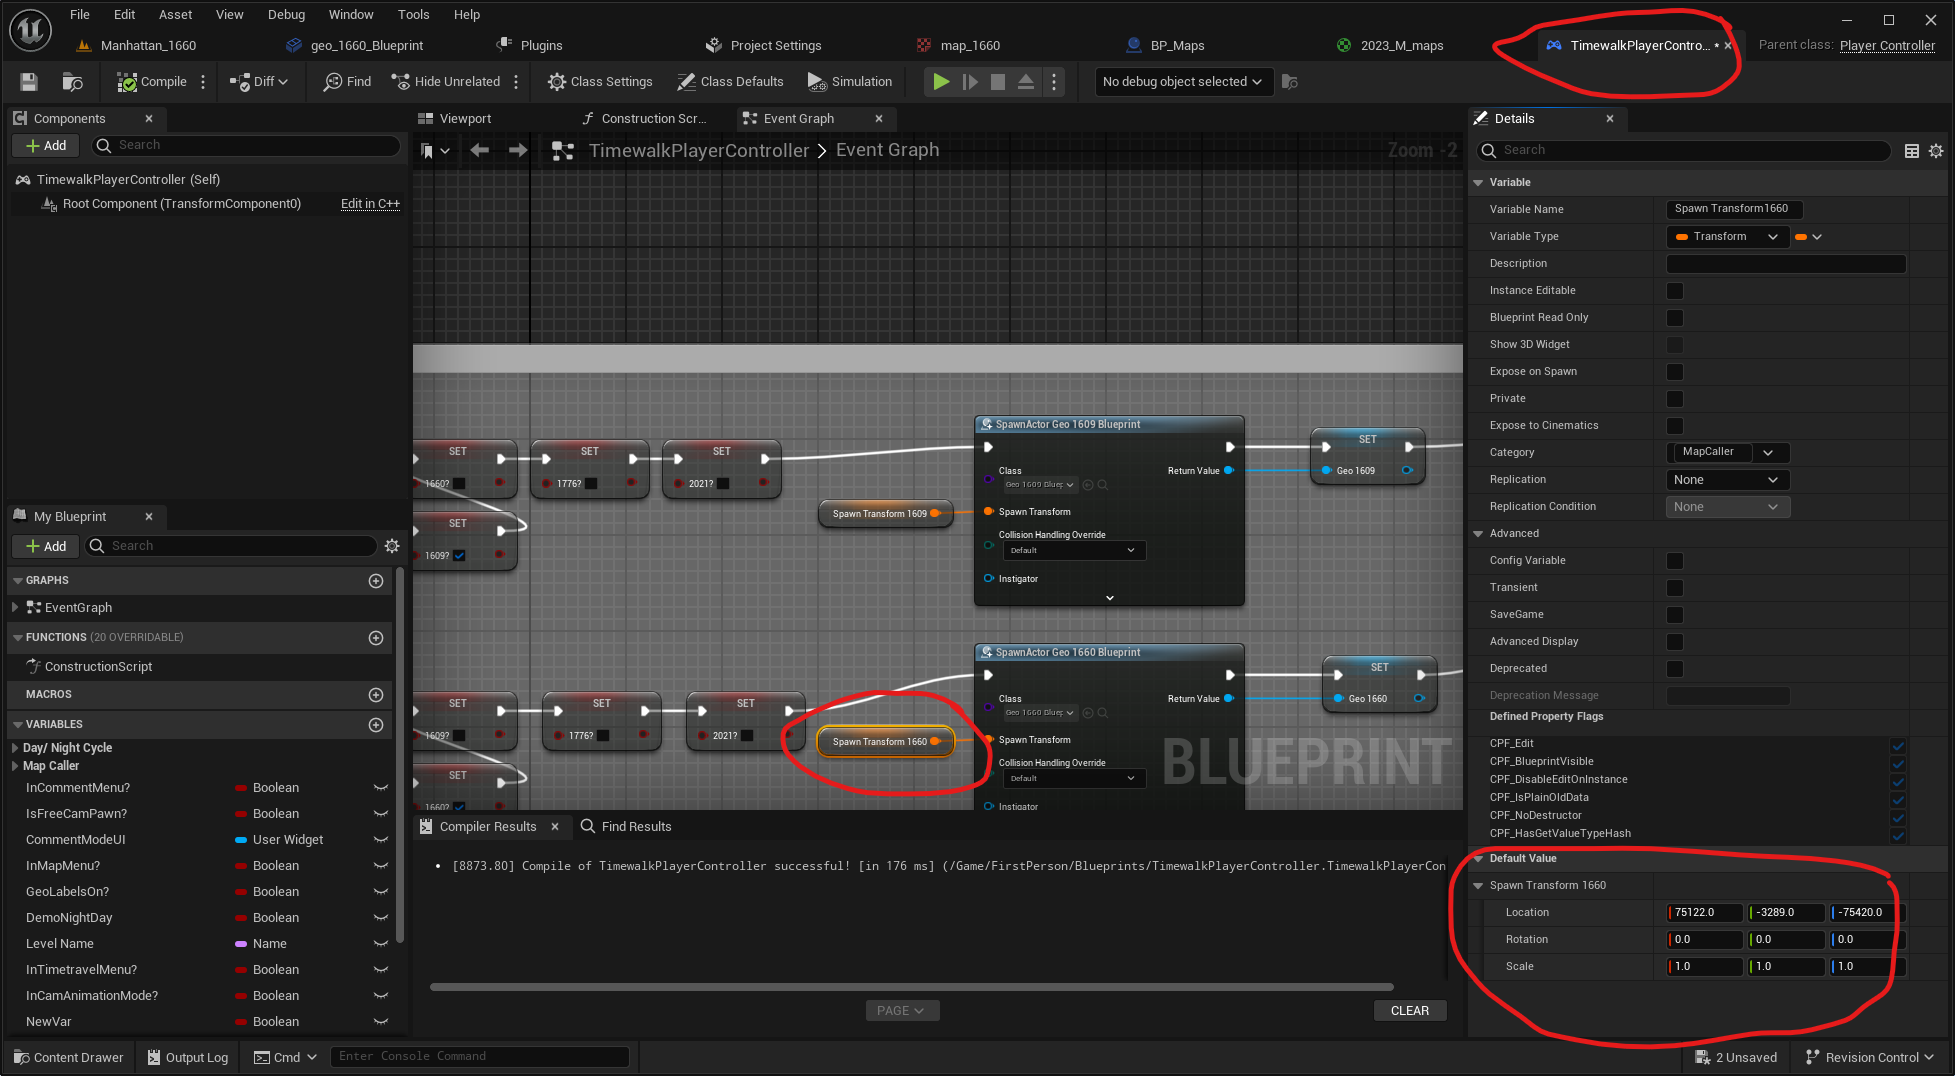
- Correct object positioning is crucial. There are unique blueprints for each of the overlay maps. They are named “geo_1609_Blueprint”, “geo_1660_Blueprint”, etc.
- The transform (location, rotation, scale) used to display each map is recorded in the Blueprint for each map.
- To edit this, you need to drag each “geo” blueprint out onto the Level, then edit its transforms to make sure it is positioned correctly, then copy that location and paste it back into the “Spawn Transform” in the “TimeWalkPlayerController” for that year.
- Remember to remove the “geo” blueprint you dragged into the level before runtime to ensure proper functionality!
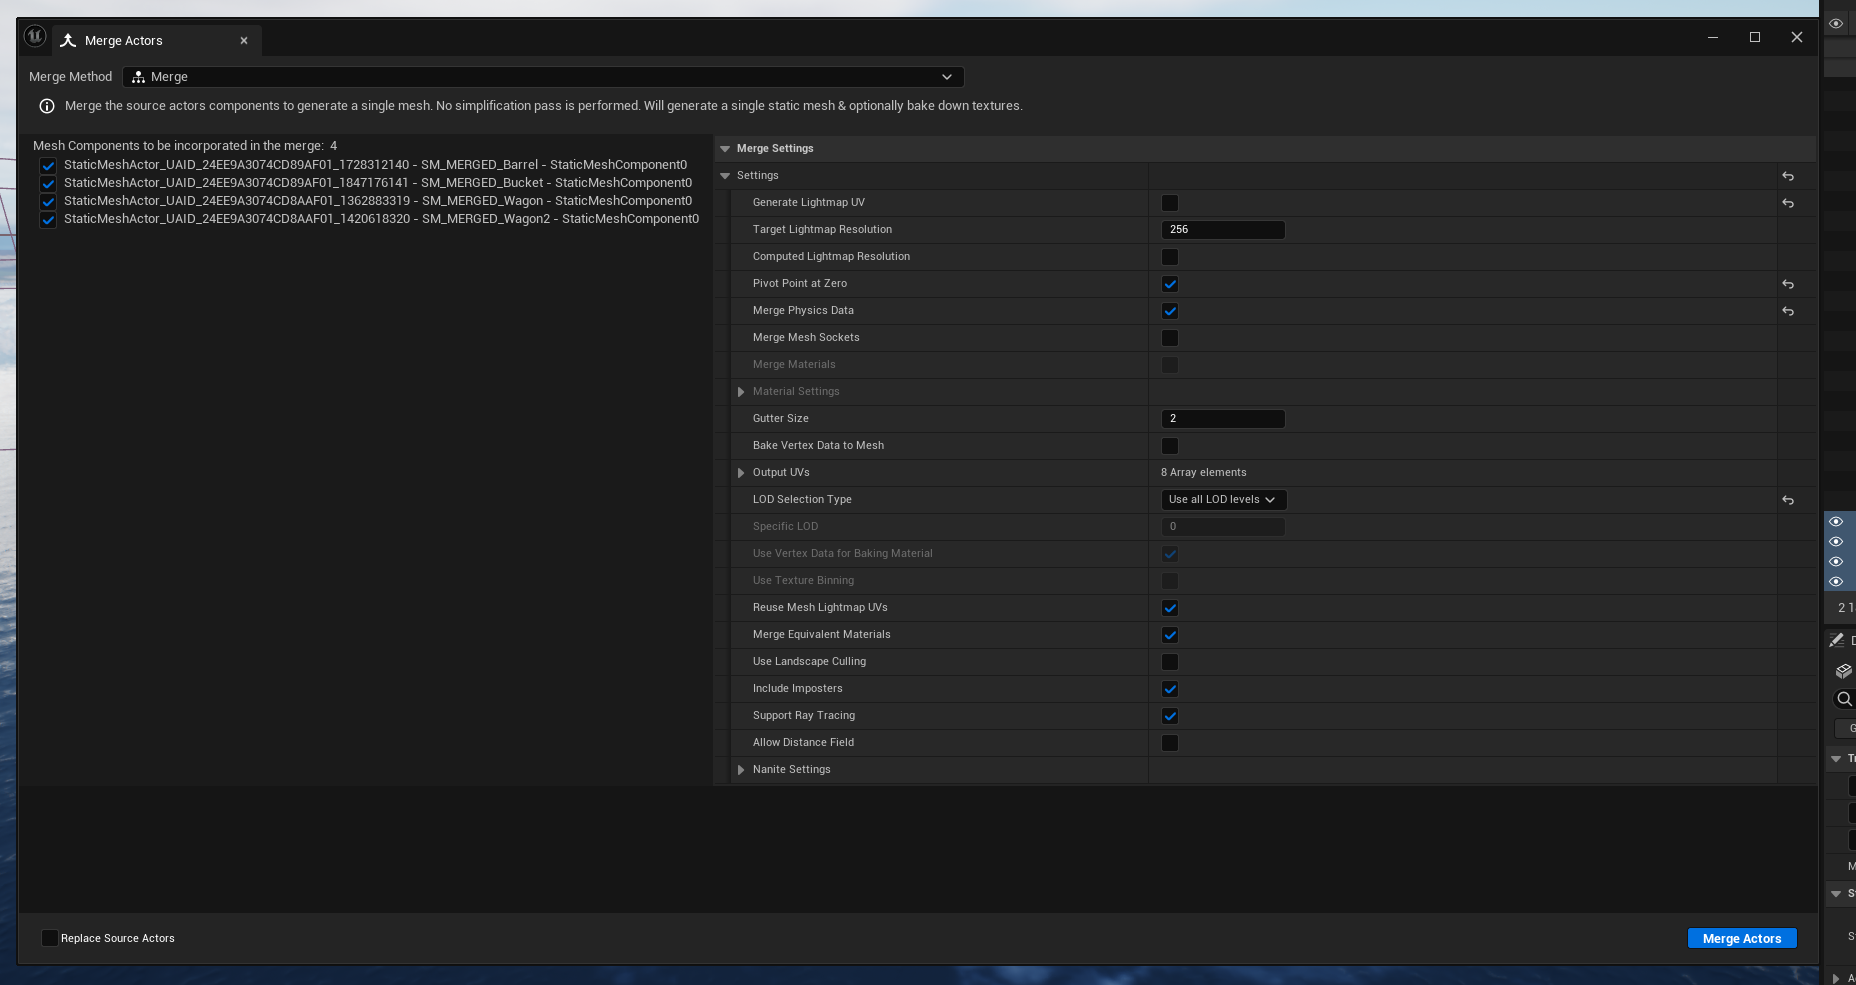
Reducing “Draw Calls” by Merging Meshes
- After placing static details like ropes and barrels:
- Go to Unreal’s Tools → Merge Actors.
- Follow the settings in the image below.
- Delete the old meshes from the outliner.
- Drag the new merged mesh into the scene and reset the transforms to zero.
Adding or Deleting Vegetation
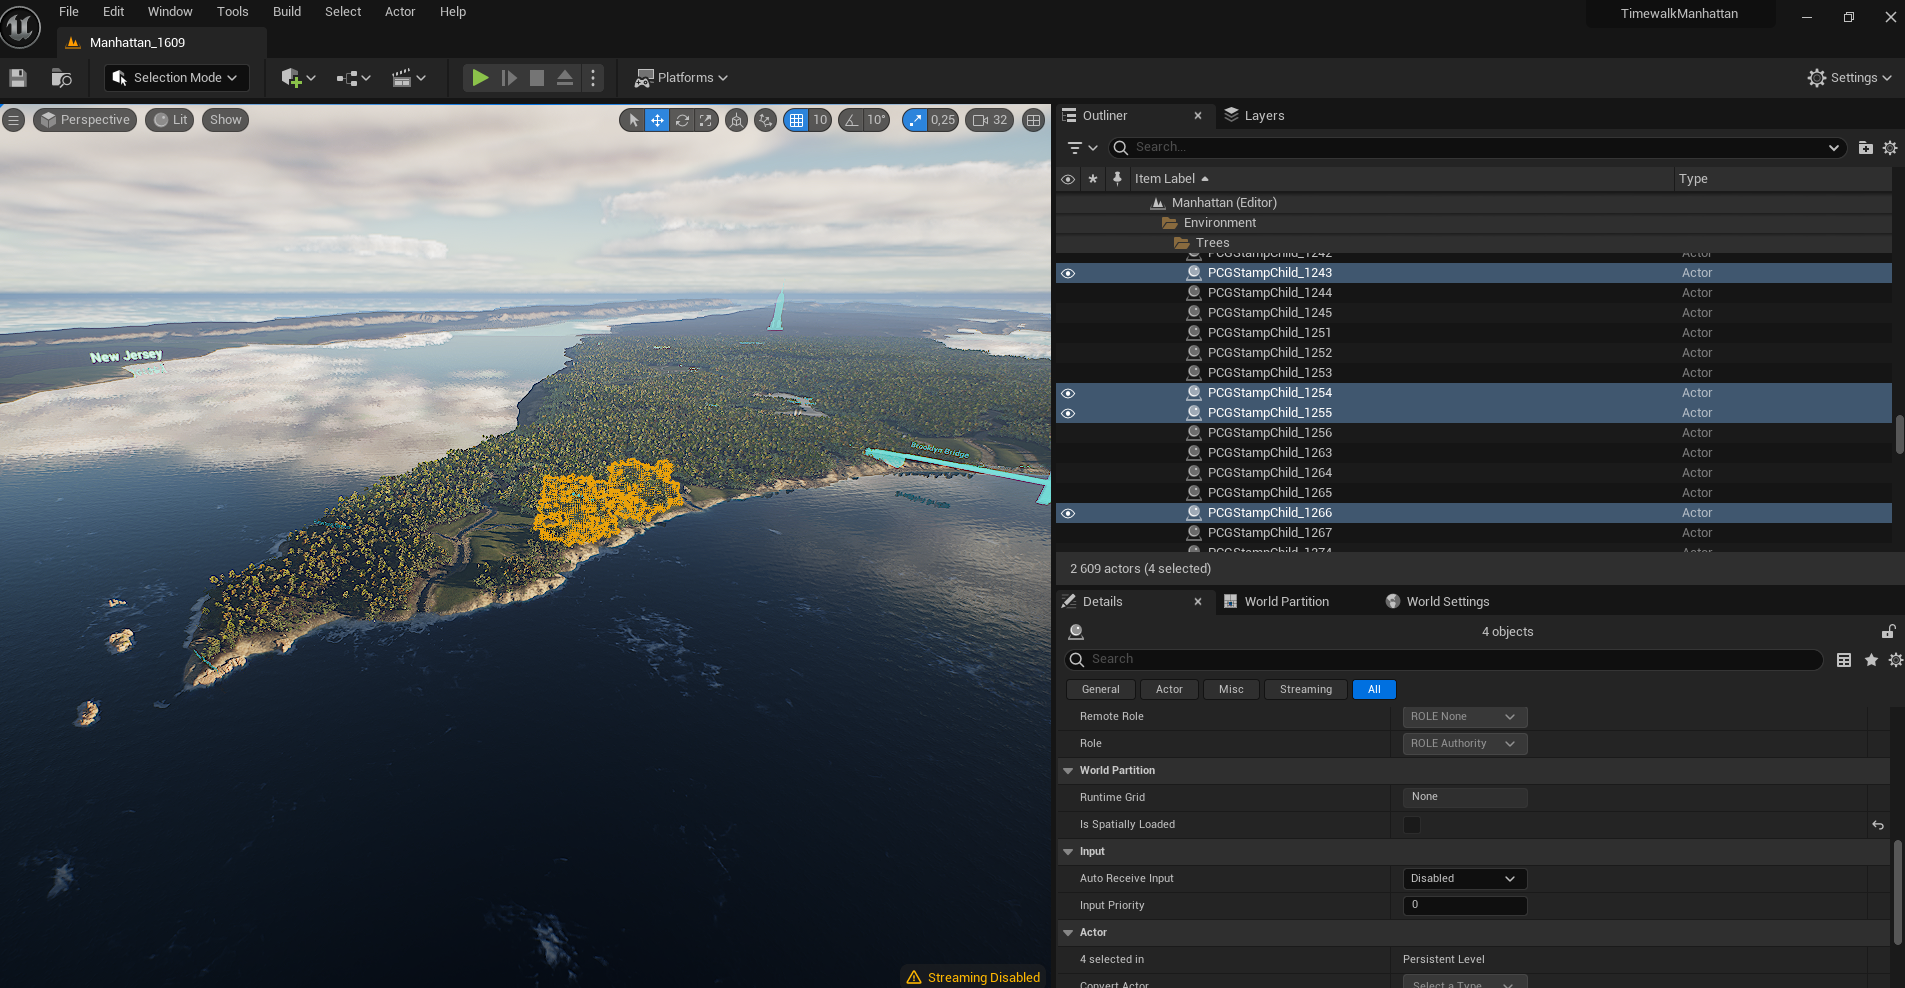
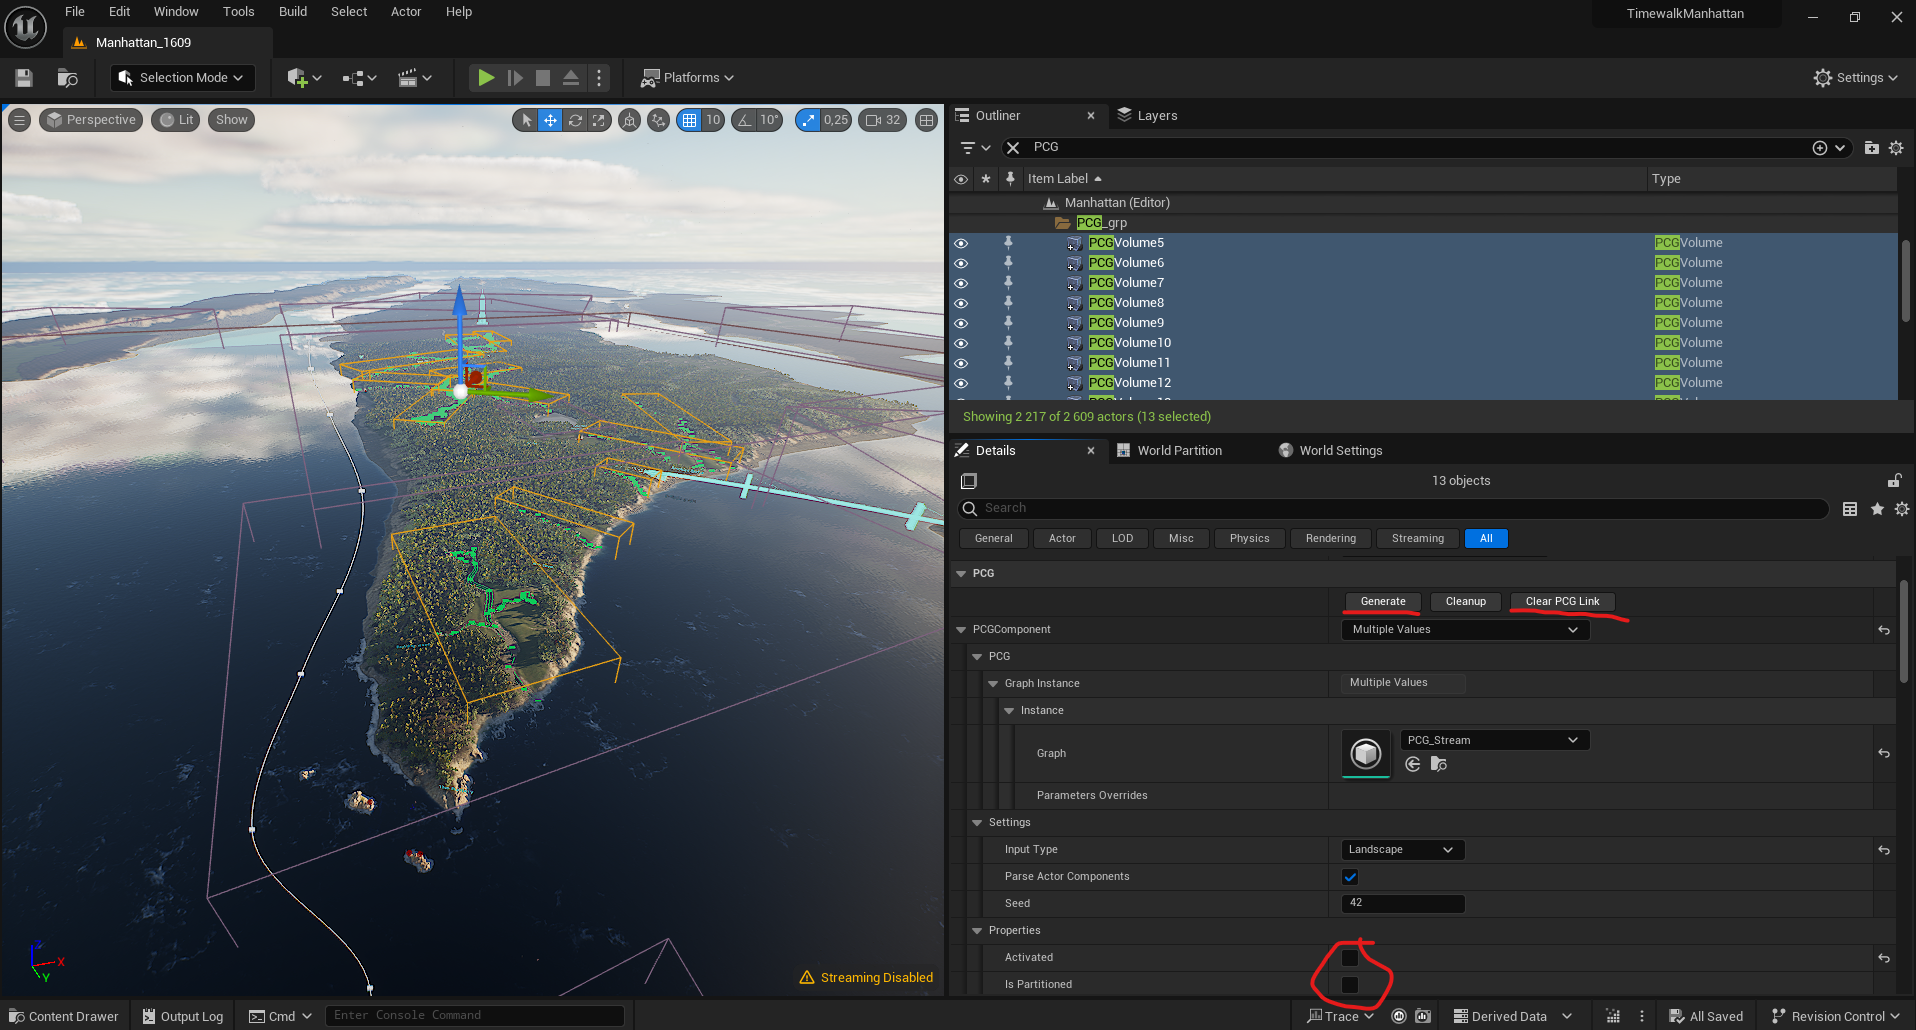
- Vegetation is managed through the PCGVolume:
- To remove vegetation, delete the relevant PCGStamps from the outliner.
- To regenerate vegetation, navigate to PCGVolumes in the World Outliner, check “Activated” and “Is Partitioned” in the details→properties, then click “Generate”.
- Then UN-check “Activated” and “Is Partitioned”
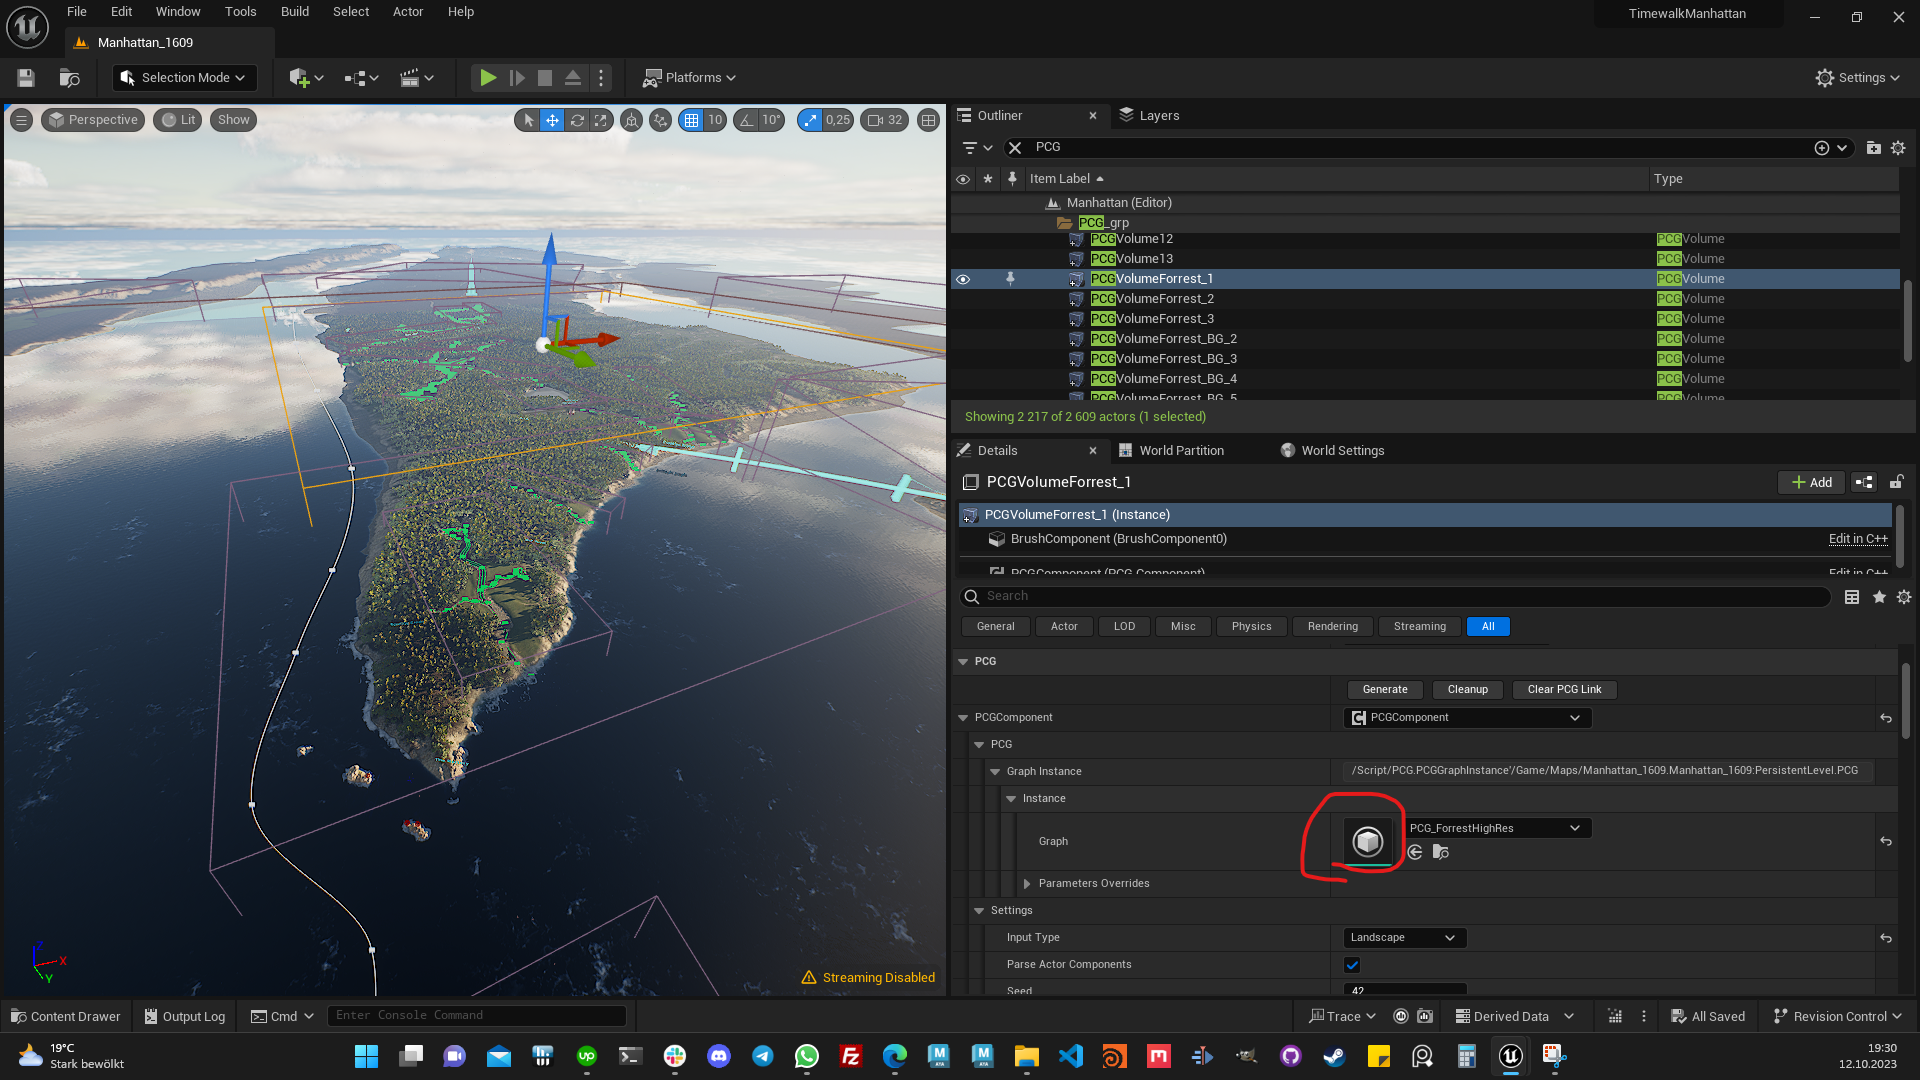
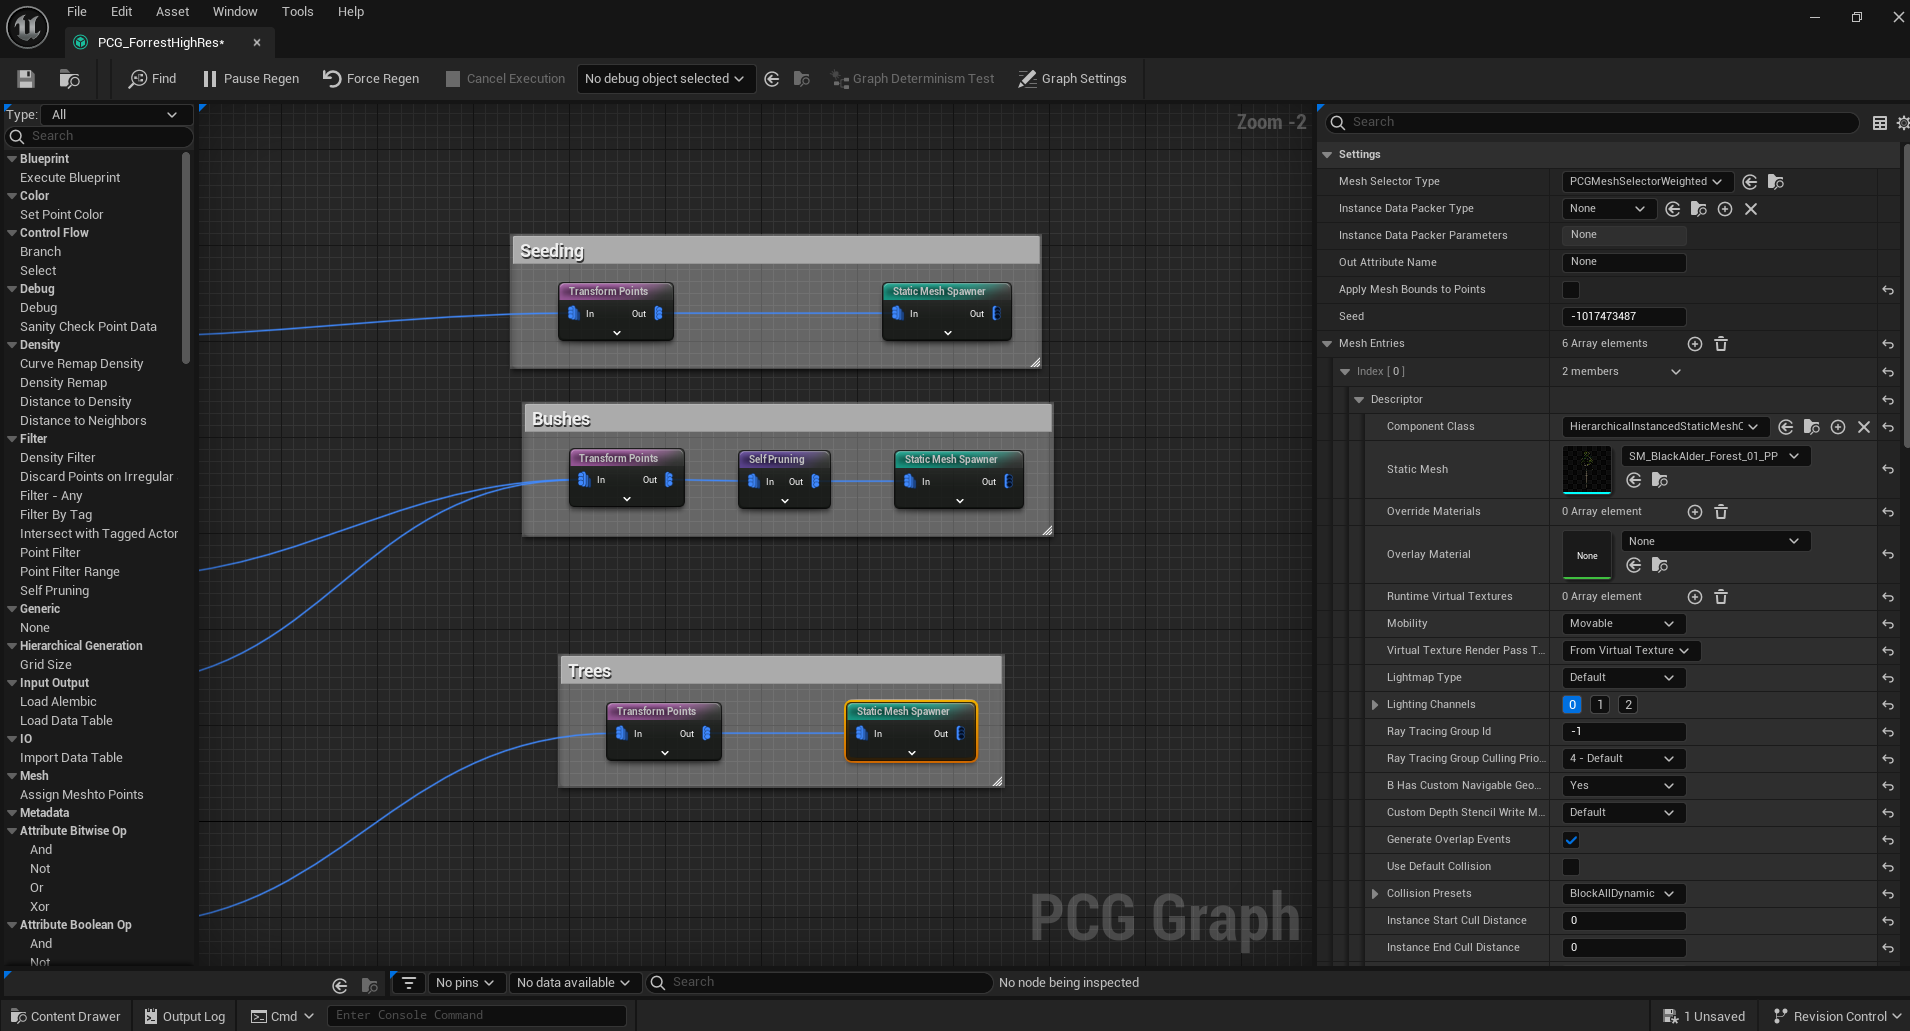
Changing Vegetation Species
- To modify vegetation species:
- Select a PCG Volume in the World Outliner.
- In the Details Panel, under PCG Graph, click the eye icon to open the PCG Graph.
- Navigate to the “Static Mesh Spawner” to replace the vegetation meshes.
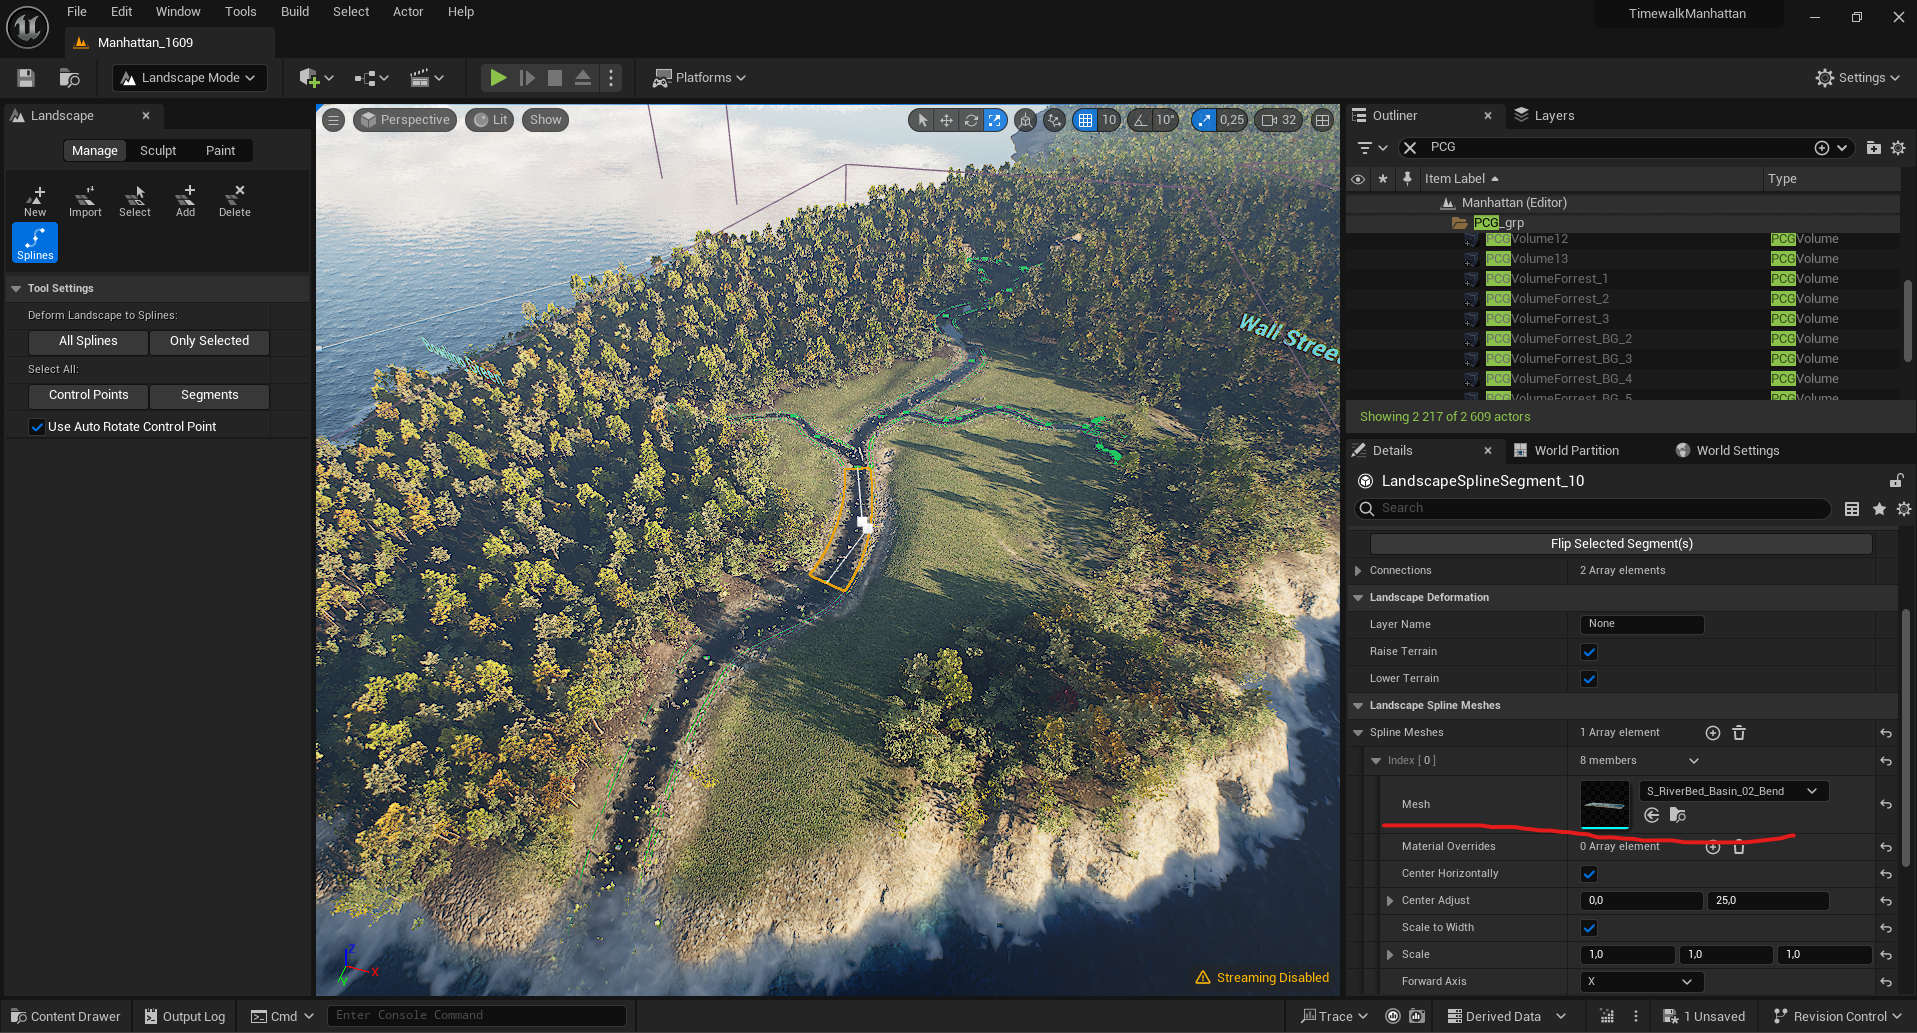
Altering Road or Stream Paths
- To edit splines for streams and roads:
- Open “Landscape Mode” from the modes panel. Then choose the “Manage” tab and select “Splines” to be able to work on road splines.
- Draw new splines with “Ctrl+LMB” on the terrain.
- Adjust spline width at the spline points.
- The static mesh for the spline segment can also be altered in the Details panel.
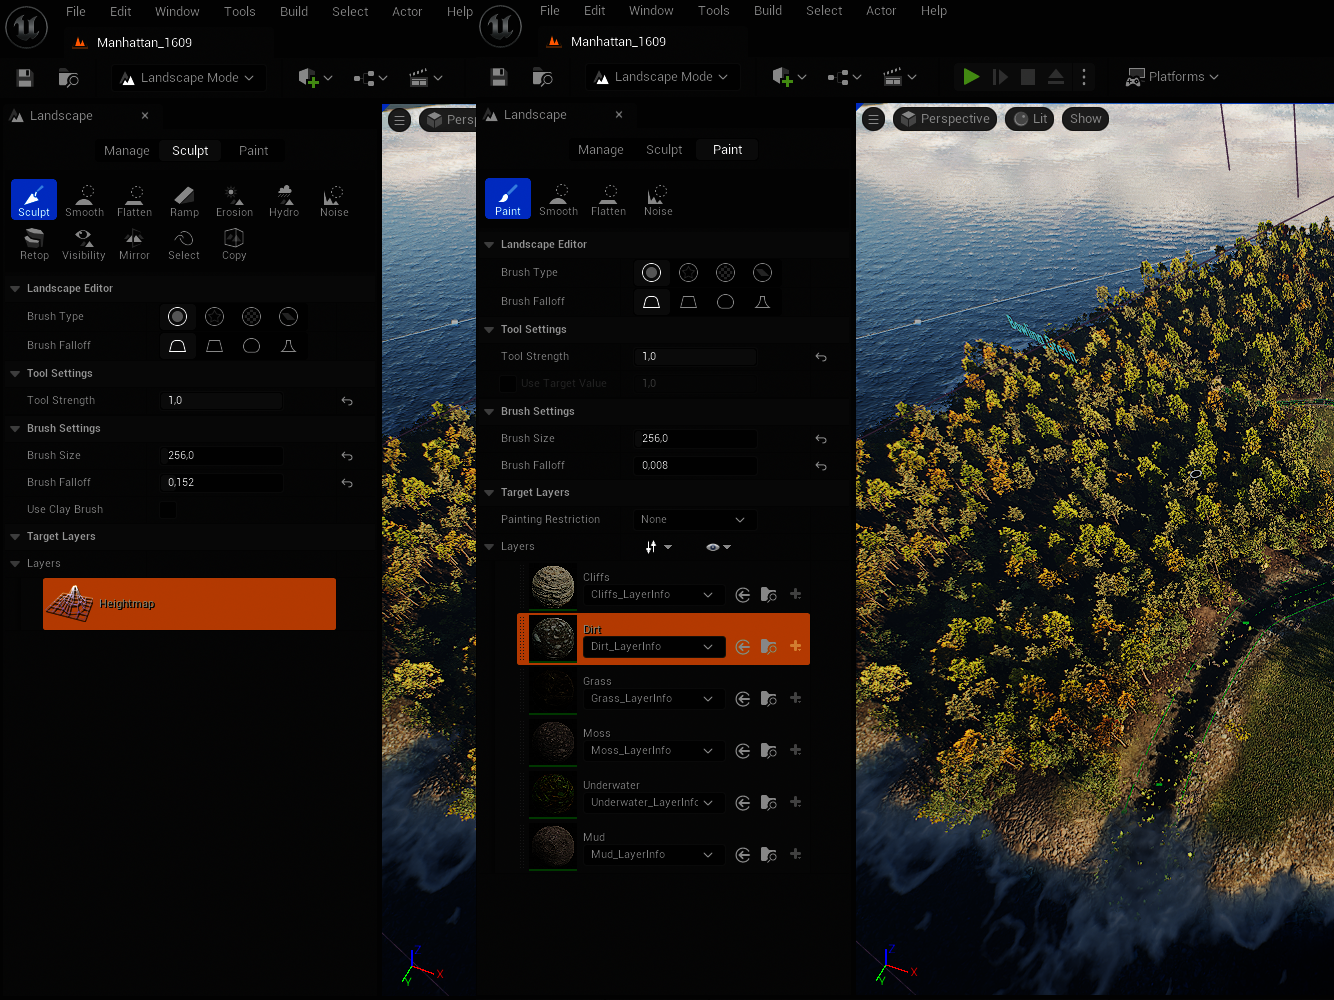
Modifying Terrain Height
- Height and terrain textures are managed through “Landscape Mode”:
- Open the “Landscape Mode” from the modes panel.
- Utilize options within the Sculpt and Paint tabs to modify the terrain.
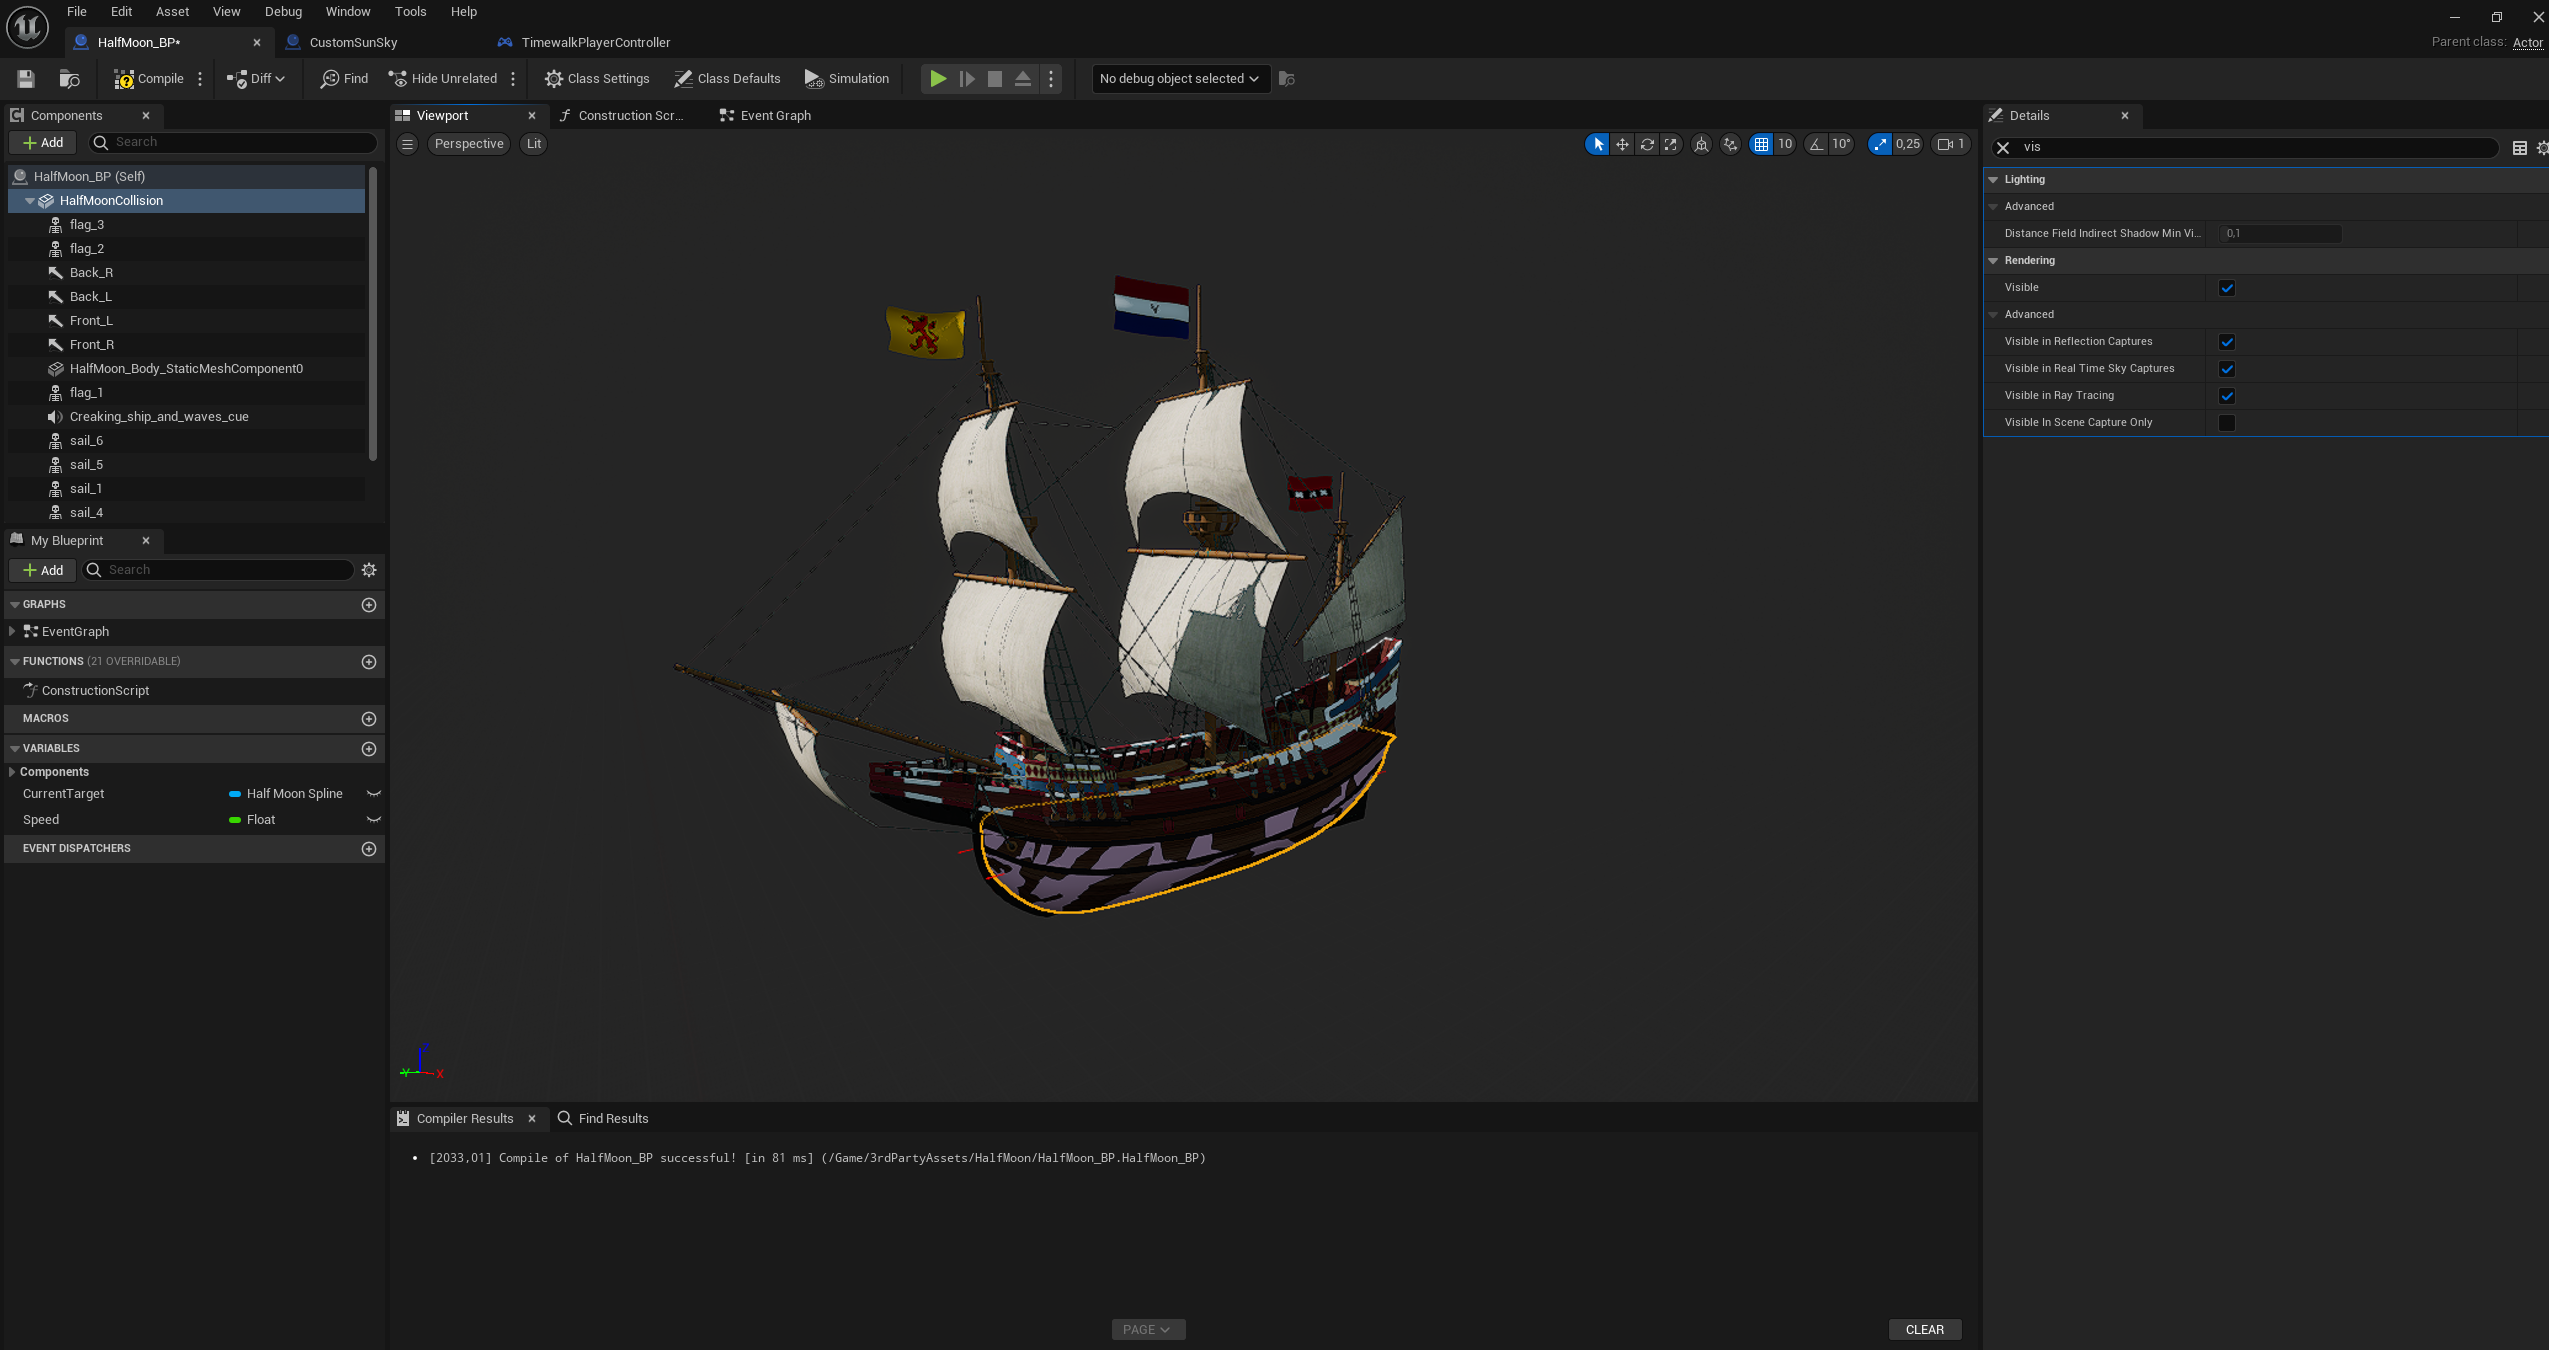
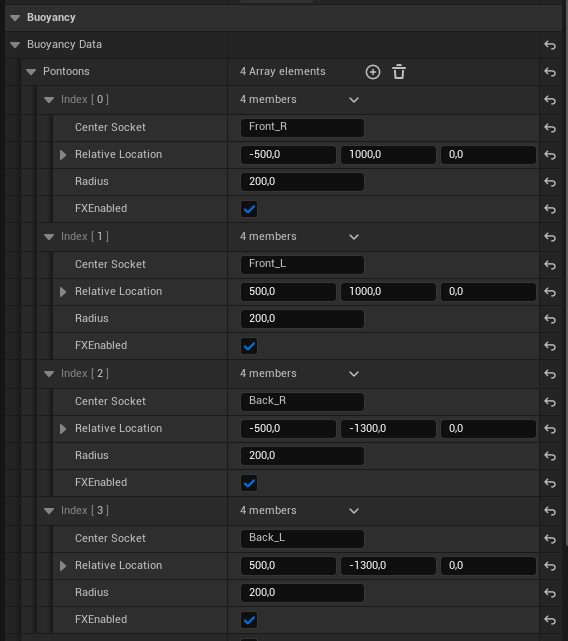
Simulating Ships
- For high-poly swimming objects like ships, use proxy meshes:
- The Half Moon Blueprint, for instance, employs a low-res variant for the ship’s bottom part which is simulated, while other parts are child objects and not simulated.
- Apply the buoyancy component, adjusting the “Pontoons” in the details panel for the desired swimming behavior.
- Visualize with the console command “r.Water.DebugBuoyancy 1”.
Note that for historians & other non-technical contributors, we have built a comment system that allows TimeWalk visitors to leave “notes” on any building or object in the world. “This building had only 3 stories and was yellow (source…)” for example. We will then convert these comments into Github Issues, and automate that process eventually.
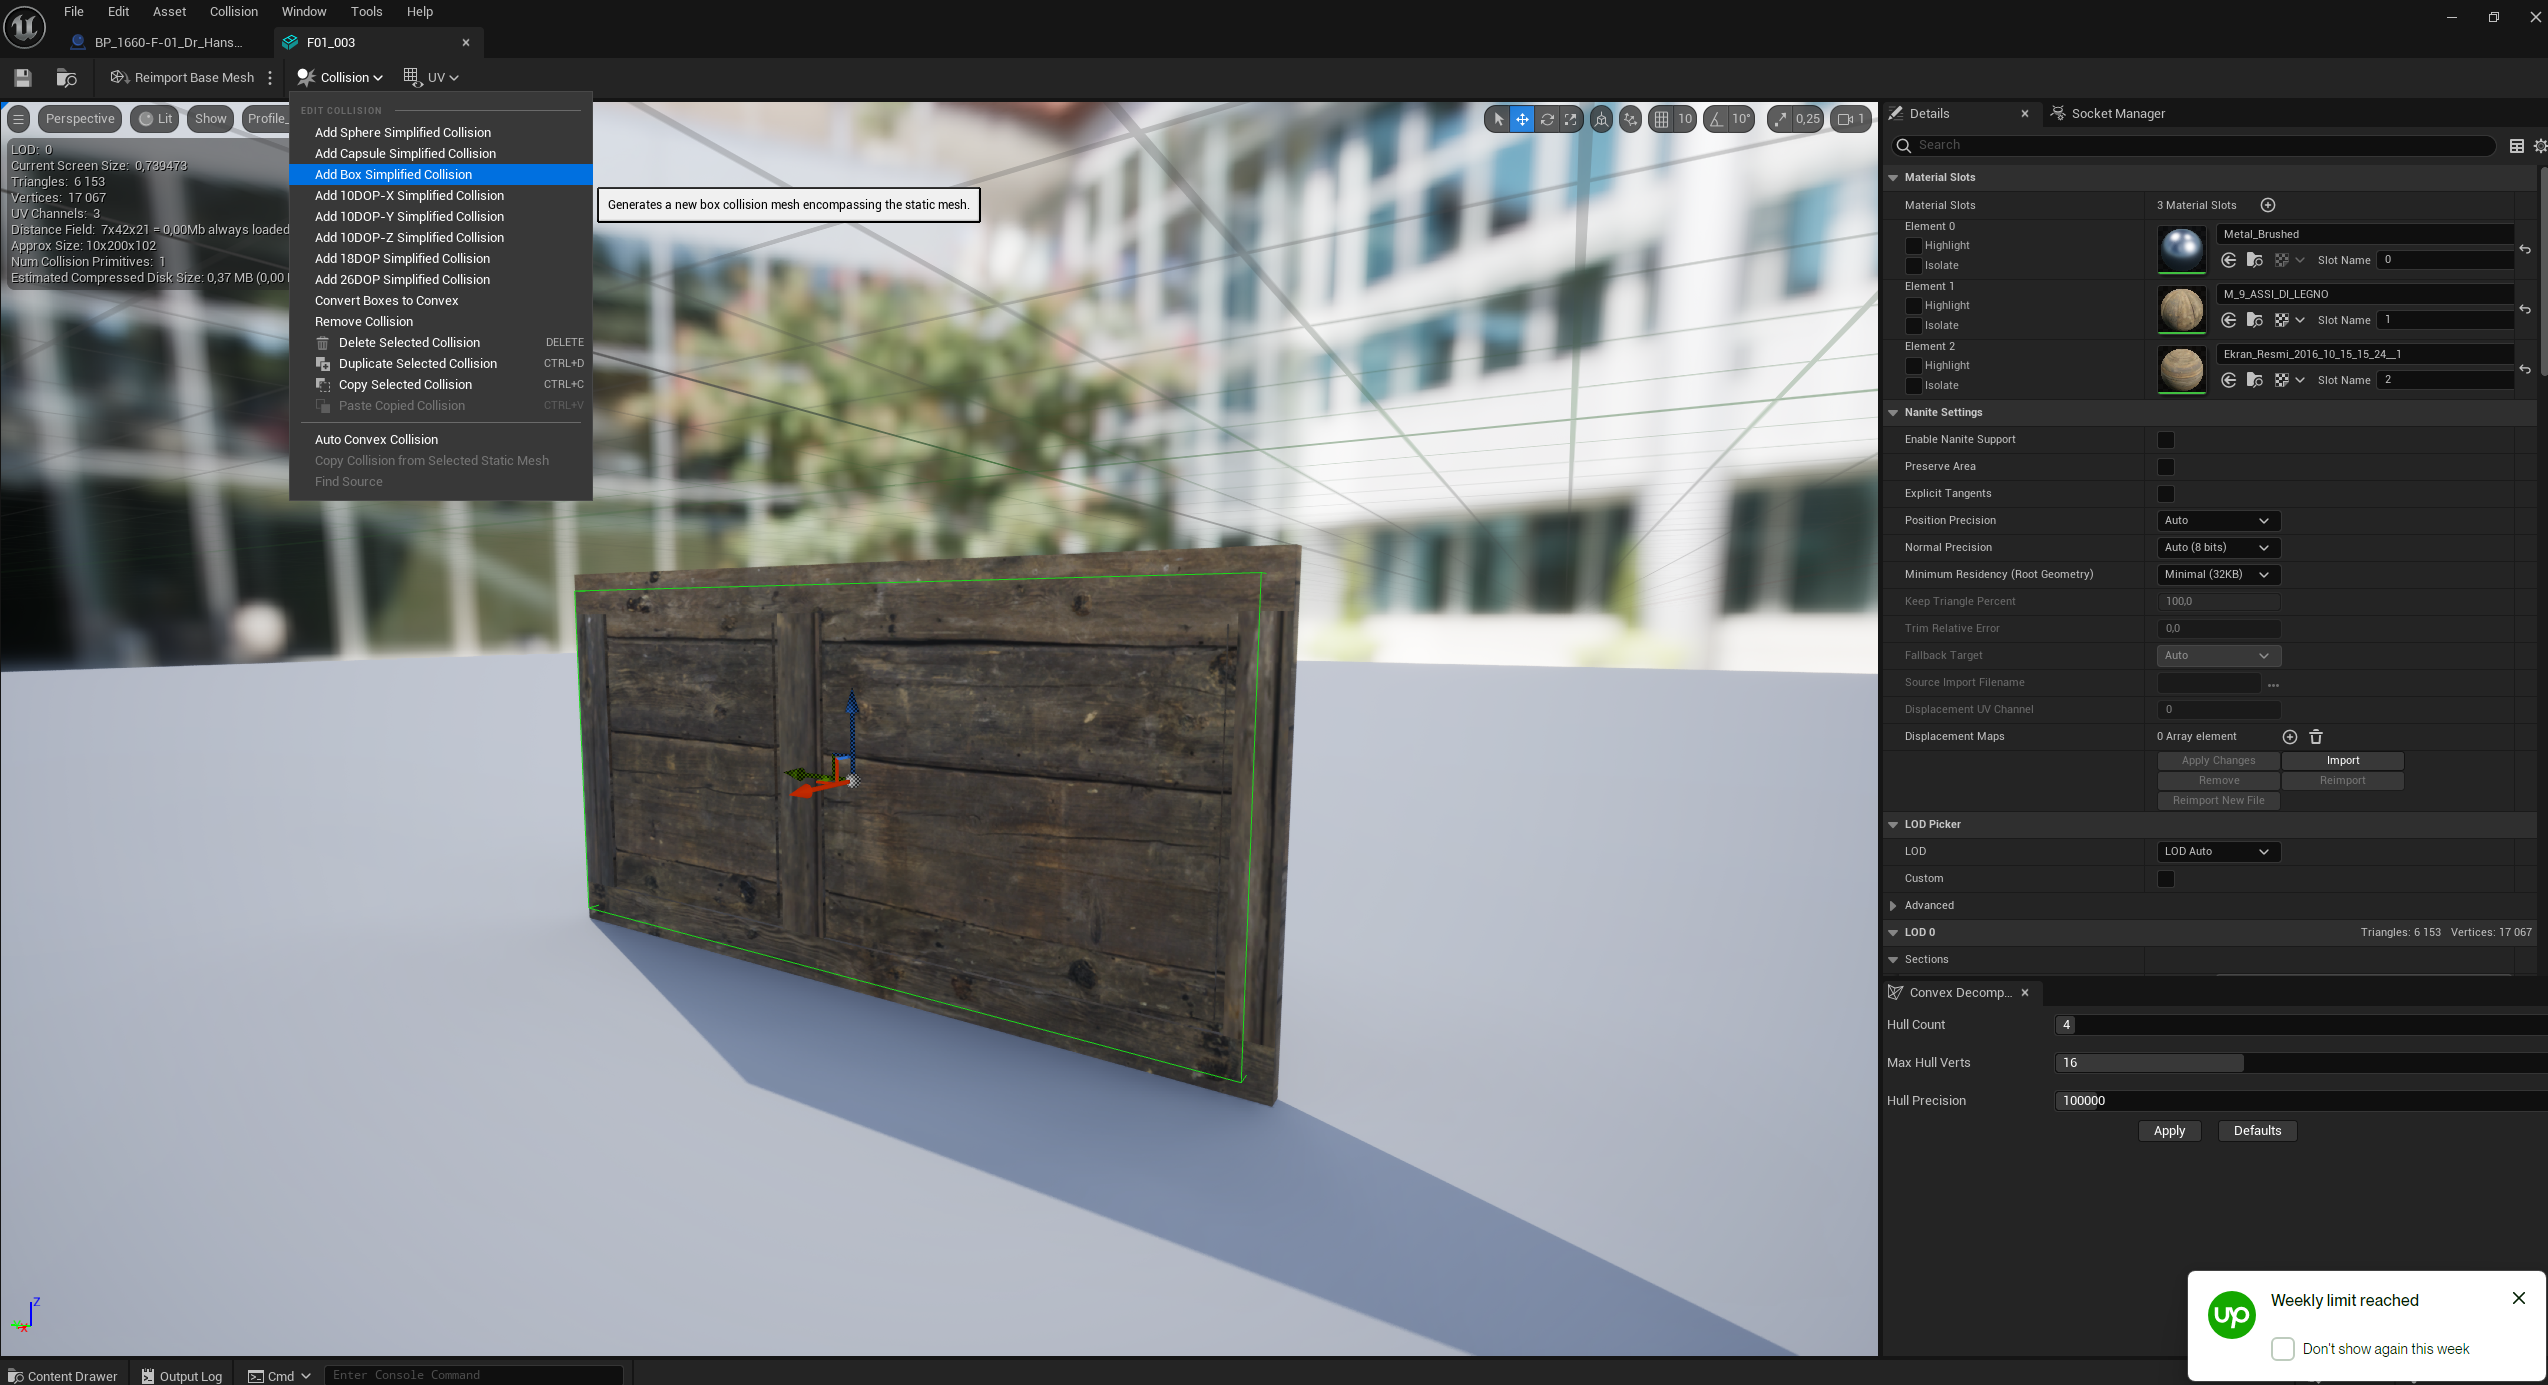
Adding dynamic doors
To create dynamic doors you will need a simple box collision for the doors static mesh. It’s important to scale the box slightly smaller then the doors height and widht and the depth should be slightly bigger. It has to be done that way to avoid overlaps with other collision object..